Teagan from Teagan’s Books has been publishing a serial, “Dead of Winter”. It’s a series of journeys (12 so far). She issued a challenge.

THE CHALLENGE
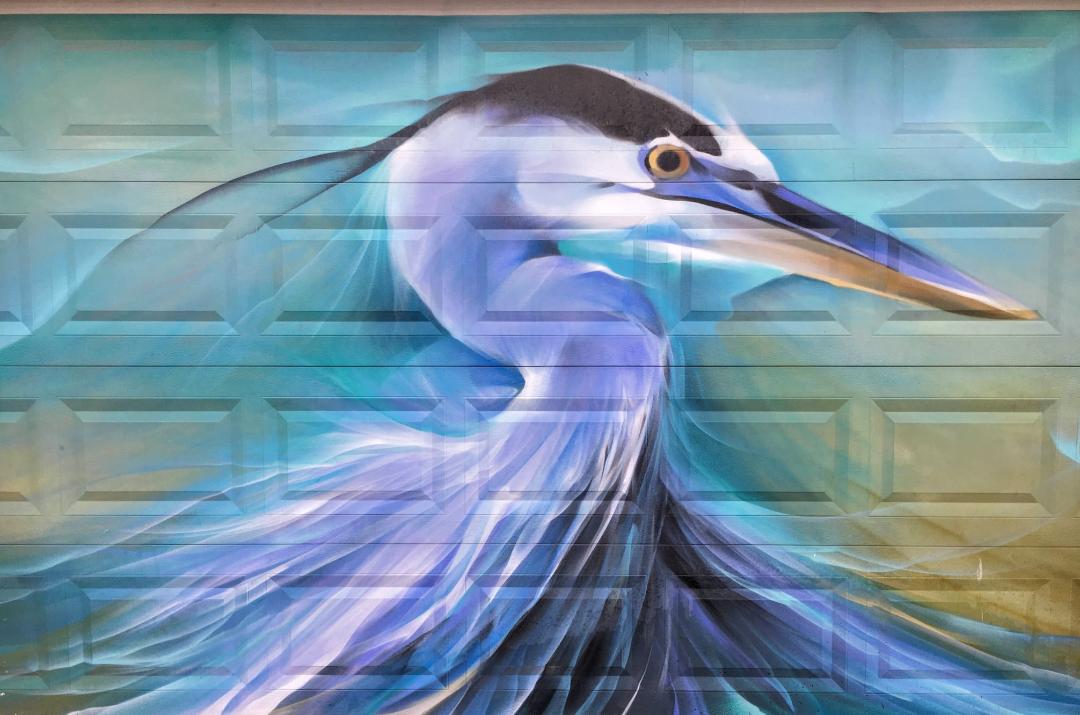
“Create something using Emlyn’s world as portrayed in Dead of Winter: Journey 1, Forlorn Peak, as your inspiration. Not a story with my characters, but anything else you please.”
I came up with:

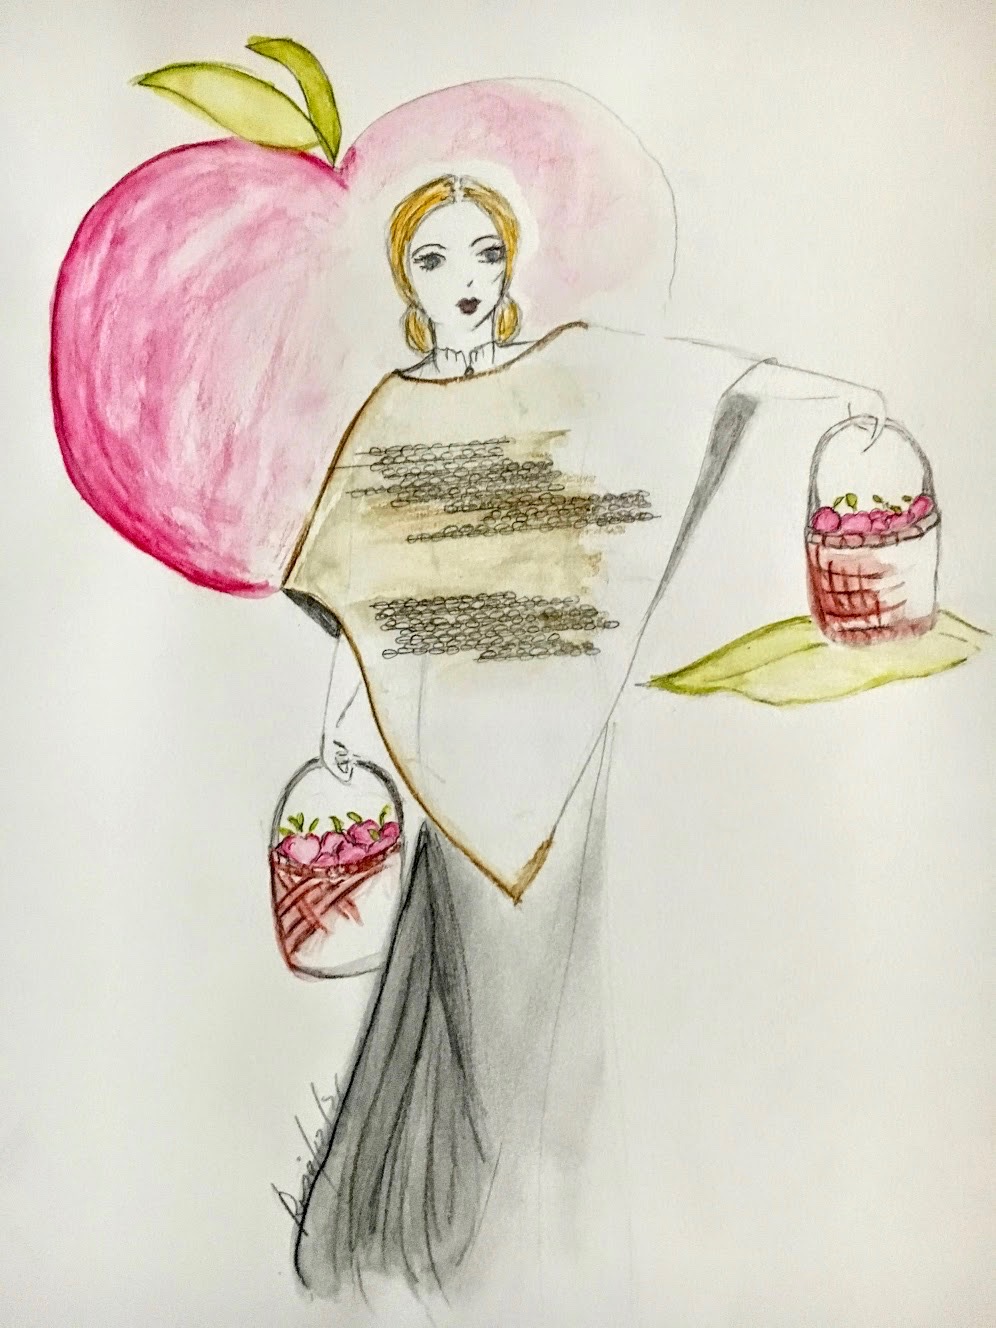
HOW TO KNIT A PONCHO
To take the chill off the fall mornings, when picking apples.
1 – GATHER YOUR YARN AND NEEDLES.
I suggest using a mid weight, natural, unbleached and not dyed yarn so as to not tick off the Brethren of Un’Naf.
2 – LET’S DO A GARTER STITCH. It is the most basic of all, doesn’t curl so won’t need a finish and its boring repetitive nature will please the Brethren of Un’Naf.
(It’s so easy! There are many tutorials online)
3 – MAKE A GAUGE SWATCH.
Cast on 40 stitches and knit 40 rows, then cast off.
Again, many tutorials online.
Block! Use gentle steam, and pat the sample dry.
Make a 1” by 1” square window in the centre of a 4″ by 4″ piece of
cardboard.
Place the window in the centre of the swatch.
Count stitches across. Count rows down.
4 – MAKE A PATTERN.
Using a measuring tape over your shoulder, let it hang from where the
point will be in the back, to where it ends in the front.
Drape the tape from below left elbow, across the back of the neck to
below the right elbow.
For discussion sake – Let’s say you want your poncho to be 60 inches
long (30″ down the front and 30″ down the back.) You need 50 inches at its widest point, 25 ” down each arm from your 7th cervical. (The bone in the centre back of your neck)
Draw a shape! It does not have to be to scale. Here, we have a diamond shape. For a more complicated shape, a full size pattern would be necessary.
For discussion sake, let’s pretend there are 6 stitches & 10 rows in the 1″
window.

Let’s start with rows. If you need to knit 60 inches – and there are 10 rows in an inch – you need to knit 60 x 10 = 600 rows.
However, you will need a neck hole at the halfway point – Row 300.
Okay, so at the 1/2 way point (which is at row 300) you will be at the widest point. In this case – 50 inches.
If 1 inch = 6 stitches, then 50 inches – 50 x 6 = 300 stitches.
I suggest casting on 3 stitches (1/2 inch). Knit 1 row. Consider this your 0 point.
Now you need to increase from 0 to 300 in 300 rows. This is adding 1 stitch per row. It will be wise, so as not to knit a lopsided diamond shape, to increase 2 stitches every other row. Add one stitch on each side, every other row.
At row 300, you will make a neck hole.
Measure around your head and add 2 inches. I have 24 inches.
Divide this by 2 = 12.
Centre the 12 inches at stitch 150, which is the centre of 300 stitches – 6 inches on each side of centre. 6 inches x 6 stitches = 36 stitches.
We now minus 36 stitches from 150. 150- 36 = 114.
So, at row 300 knit 114 stitches. Then cast off 72 stitches (36 for each side of centre.) Continue to finish knitting that row.
Next row is still 300 stitches. You will knit 114 stitches, then CAST ON 72 stitches. Finish knitting the row.
Knit 1 more row of 300 stitches.
Okay, now we need to get back to to a 1/2″ point.
Do the exact opposite! Decrease 2 stitches every other row, at the sides.
When you get to 3 stitches, knit 1 more row and cast off.
Your poncho is done!
You will need to block the knit into shape by steaming and patting dry, or spritzing with water and patting dry. Use a measuring tape to make sure you are creating a proper shape. (T-pins are used for fancier blocking, but this is a simple shape, so not needed)
In order to please the Brethren of Un’Naf, do not add fringe, tassels, or create a striped colourful pattern by changing colours of yarn every few rows.
Let’s just hope they aren’t annoyed by the fancy point!
✒︎✑✒︎✑✒︎✑✒︎✑✒︎✑✒︎✑✒︎✑✒︎✑✒︎✑✒︎✑✒︎✑✒︎✑
I’ve read the first 3 Journeys. They are excellent. Teagan is a wonderful, entertaining writer. She gifted me, and anyone answering the challenge a book. I got book 4. Unfortunately, I live in Canada, and the Kindle offer is only good in the U.S.A. Thank you, Teagan! I appreciate the thought.
On Saturdays, you can follow the adventure “The Armadillo Files” on her blog.

Click on the cover of Journey 1, above, and go to Teagan’s Amazon page with all of the Journeys. When there, click on her author’s name, and you will find all of her other books.

You can buy Journeys 1, 2 & 3 0n KOBO. (That’s where I bought mine)
Hullaba Lulu & Thistledown Midsummer Bedlam are also available on KOBO.


You must be logged in to post a comment.